

 English
 عربى
عربى
How Rotomolded Fuel Tanks Are Manufactured: Step-by-Step Process
The Direct Answer: The Rotomolding Process in Brief
Rotomolded fuel tanks are manufactured by loading powdered polyethylene resin into a hollow metal mold, then heating and rotating the mold on two perpendicular axes until the resin melts and evenly coats the interior surface, forming a single seamless hollow tank once cooled. The entire process typically runs through four distinct stages — loading, heating, cooling, and de-molding — and produces a tank with no seams, welds, or joints, which is the primary reason rotomolded fuel tanks resist leaks better than tanks assembled from multiple pieces.
Step 1: Mold Design and Resin Selection
Before production begins, a hollow, two-piece aluminum or cast mold is machined to the exact shape and internal volume of the target fuel tank. Aluminum molds are favored for their high thermal conductivity, which allows more even and efficient heat transfer during the process compared to heavier cast alternatives.
The resin itself is typically linear low-density polyethylene (LLDPE) or cross-linked polyethylene (XLPE), ground into a fine powder before molding. XLPE is often specified for fuel tanks because the cross-linking process strengthens the molecular structure after molding, improving resistance to fuel permeation, chemical exposure, and stress cracking compared to standard LLDPE.
Step 2: Loading the Resin Charge
A precisely measured amount of powdered resin — the "charge" — is loaded into the mold cavity. This weight directly determines the finished tank's wall thickness, so accuracy at this stage is critical: an undercharged mold produces thin, weak walls, while an overcharged mold wastes material and can create uneven interior buildup. Once loaded, the mold is sealed and clamped shut before moving into the oven stage.
Step 3: Heating and Biaxial Rotation
The loaded mold is transferred into an oven, typically heated to around 260-370°C (500-700°F) depending on resin type and tank wall thickness, while rotating simultaneously on two perpendicular axes. This biaxial rotation — the defining feature of rotational molding — is what distinguishes the process from simple spin casting.
Why Biaxial Rotation Matters
As the mold rotates on both axes at once, gravity continuously redistributes the melting resin powder across the entire interior surface. The powder gradually sticks, melts, and fuses into a uniform layer, coating every internal contour — including complex shapes like baffles, mounting bosses, and filler necks — without seams or thin spots. Rotation speed and heating time are carefully balanced for each tank design; too fast a cycle can leave the resin unevenly distributed, while too slow a cycle risks material degradation from excess heat exposure.
Step 4: Controlled Cooling
Once the resin has fully melted and coated the mold interior, the assembly moves to a cooling station — often using ambient air, forced air, or a fine water mist — while rotation continues at a reduced speed. Cooling must happen gradually and evenly, since uneven cooling can cause the tank to warp, develop internal stress, or shrink unevenly away from the mold wall. This stage typically takes longer than the heating phase, as the plastic needs to solidify fully before it can safely be removed without deforming.
Step 5: De-Molding and Trimming
Once cooled to a safe handling temperature, the mold is opened and the finished tank shell is removed. At this stage, workers trim any excess flash material from the mold parting line and inspect the shell for surface defects such as pinholes, bubbles, or uneven wall sections before it proceeds to finishing.
Step 6: Machining and Fitting Installation
After the base shell is complete, secondary operations add the features needed for the tank to function as a fuel container:
- Drilling and Boss Machining: Openings are cut for the filler neck, fuel pickup, vent, and drain, typically aligned with molded-in bosses designed to accept threaded fittings.
- Fitting Installation: Brass or nylon fittings are threaded or welded into the machined openings to create sealed connection points for fuel lines and vents.
- Mounting Hardware: Straps, brackets, or molded mounting flanges are attached or integrated to allow secure installation in the vehicle or equipment.
Step 7: Quality Testing
Before a rotomolded fuel tank ships, reputable manufacturers run it through several quality control checks to confirm it's leak-free and structurally sound:
| Test | Purpose |
|---|---|
| Air/Pressure Leak Test | Confirms the tank holds a set internal pressure without air loss |
| Wall Thickness Check | Verifies consistent thickness across all tank surfaces |
| Drop/Impact Test | Confirms the tank withstands handling and installation impacts |
| Visual/UV Inspection | Detects surface defects, bubbles, or discoloration from overheating |
A properly manufactured rotomolded fuel tank should hold a set air pressure test (commonly around 3-5 psi) for a specified duration, typically several minutes, without measurable pressure drop — any drop indicates a pinhole or incomplete fusion point that must be identified and rejected before the tank leaves the factory.
Why the Seamless Process Matters for Fuel Tank Performance
The seamless nature of the rotomolding process is not just a manufacturing detail — it directly affects the tank's real-world reliability. Because the entire shell forms from a single continuous piece of melted resin, there are no welded seams, glued joints, or bonded halves that can separate under vibration, pressure cycling, or chemical exposure over time. This is a key reason rotomolded tanks are widely used in off-road, marine, and agricultural equipment, where constant vibration and rough handling would stress seam-based tank designs far more aggressively than a one-piece rotomolded shell.
Manufacturing a rotomolded fuel tank involves loading a precise resin charge into a mold, melting and distributing it through biaxial rotation under controlled heat, cooling it gradually to prevent warping, and finishing it with machined fittings before rigorous leak and pressure testing. Each stage directly affects the final tank's durability — from resin grade and charge accuracy to cooling control and pressure test results — which is why sourcing from a manufacturer with documented quality control at every step matters as much as the tank's advertised capacity or price when choosing a rotomolded fuel tank for a demanding application.
Related Products
-
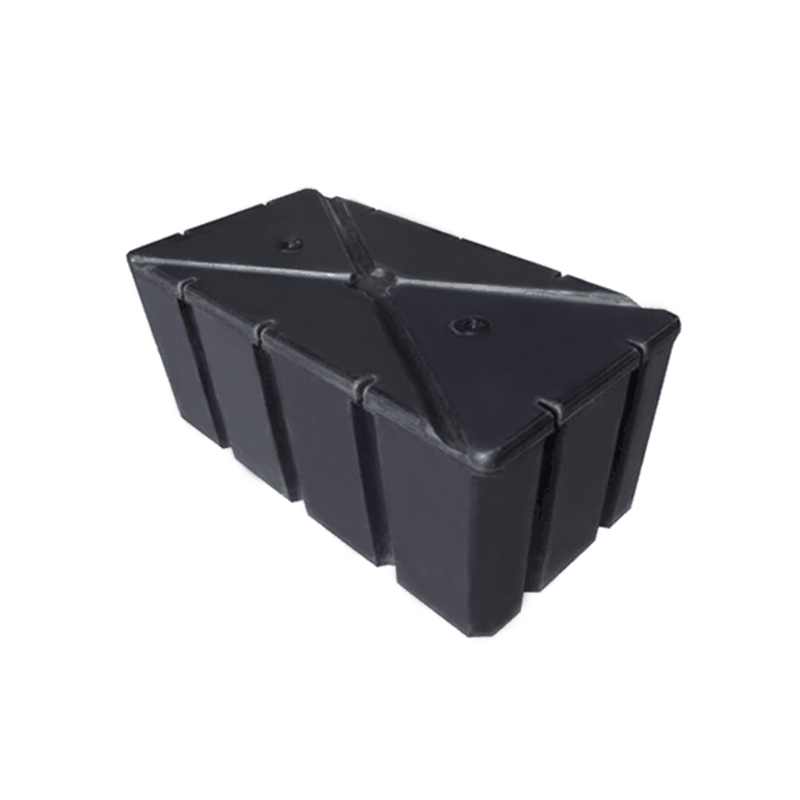
Square Rotomolding PE Floating Pontoon
-

Rotomolding LLDPE Floating Platform
-
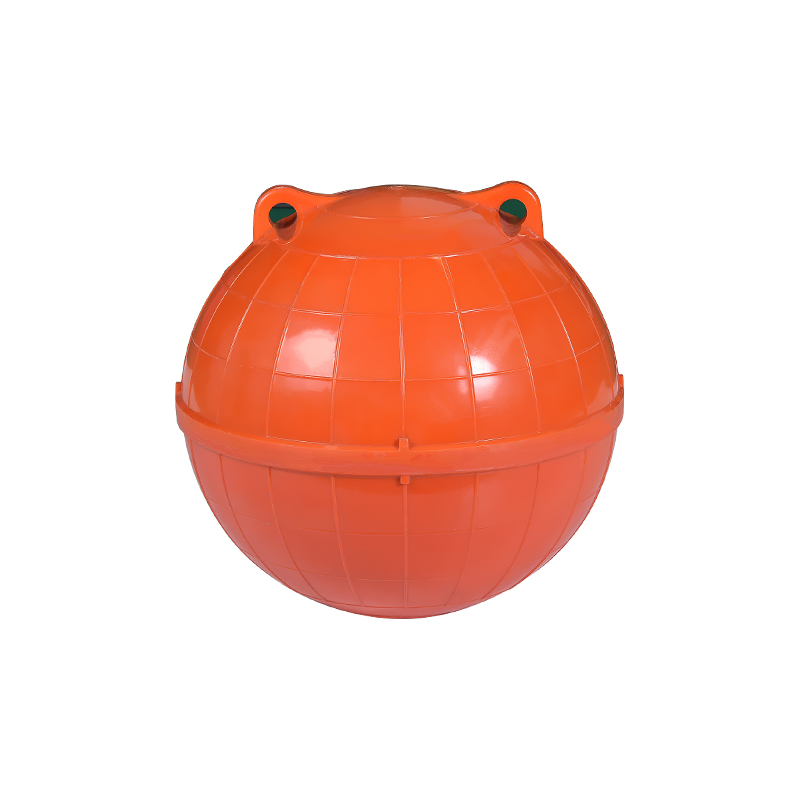
Durable 200mm ABS Rotational Molding Floating Balls
-
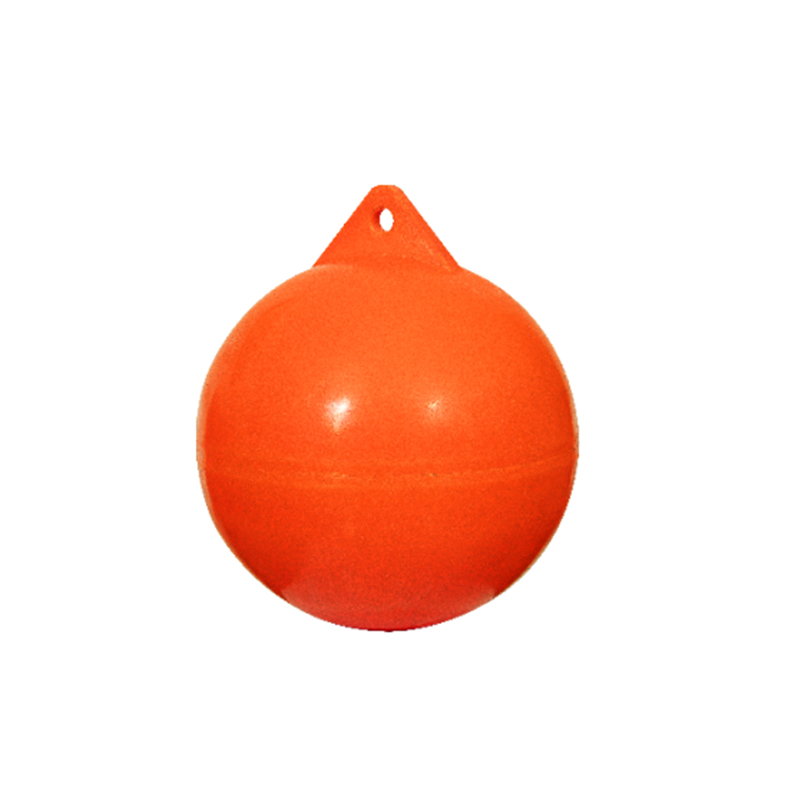
500mm Single Ear Rotomolding Floating Ball
-
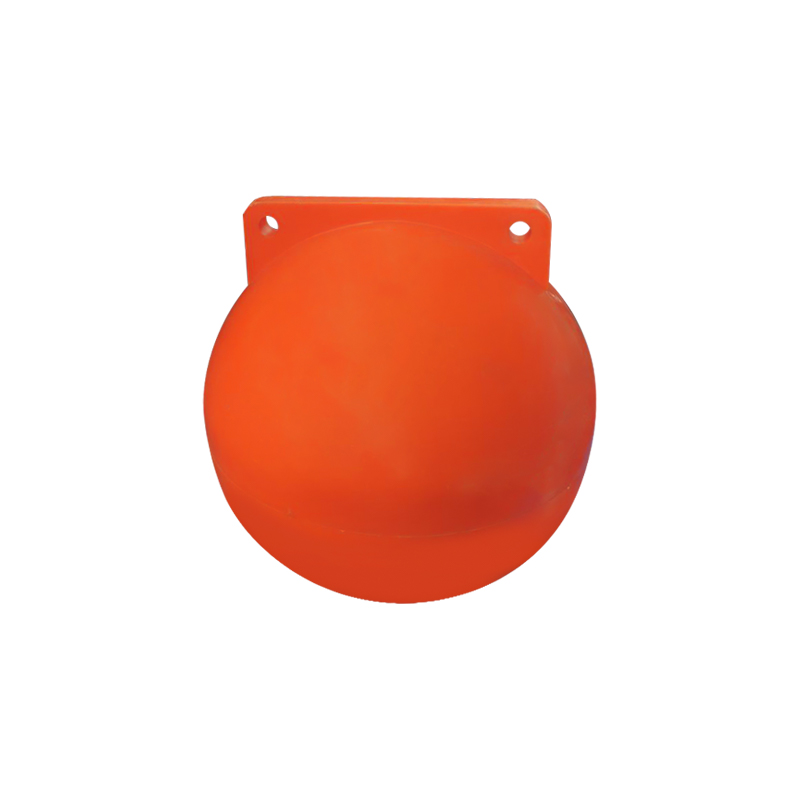
500mm Plastic Floating Ball LLDPE Warning Ball Floater
-
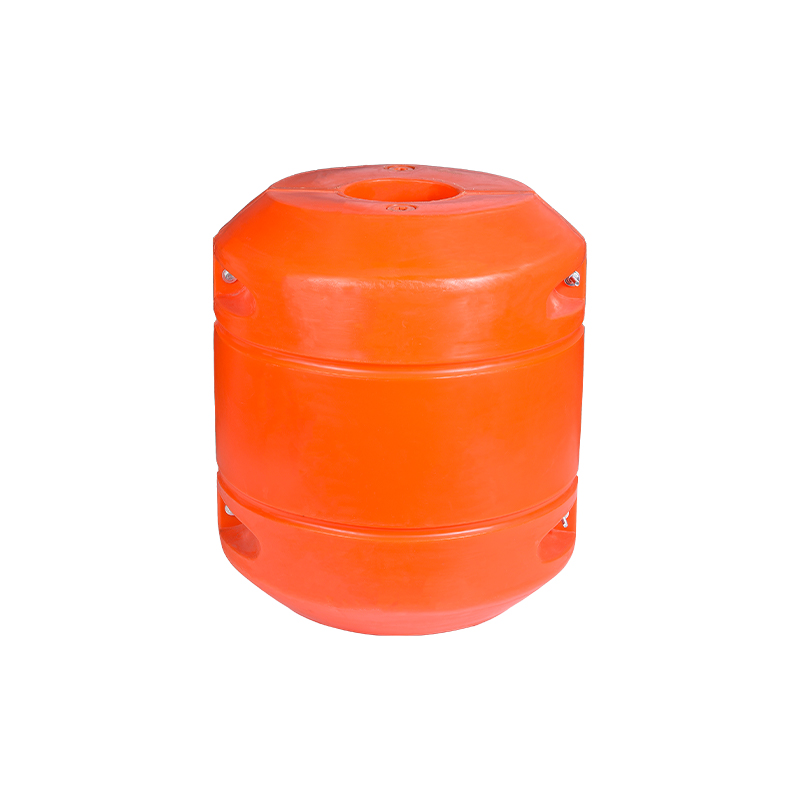
Warning Floating Dredging Pipe Pontoon
-
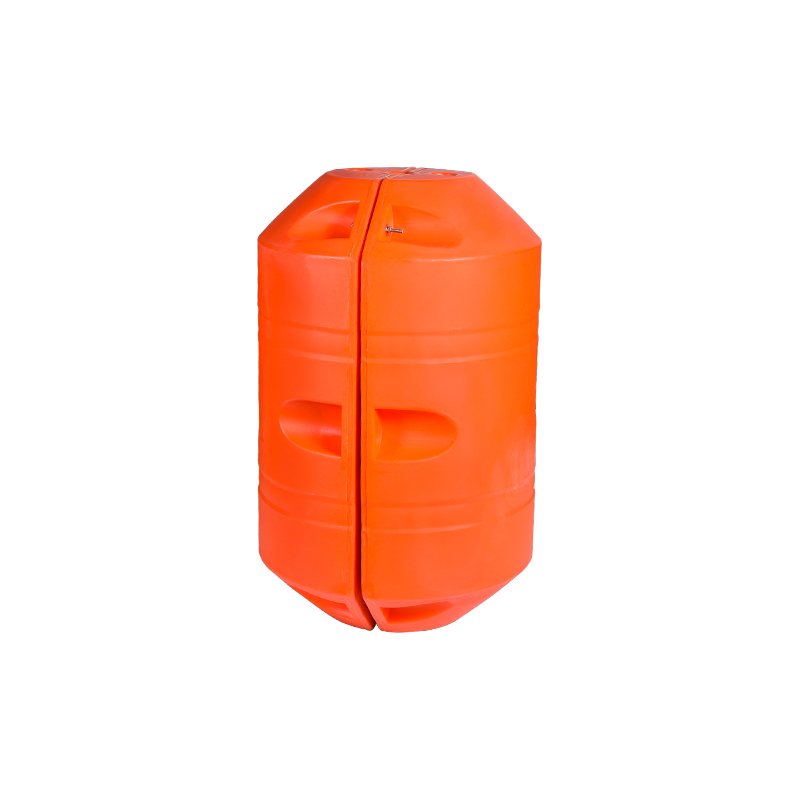
LLDPE Plastic Rotational Molding Dredge Pipe Float Pontoon
-
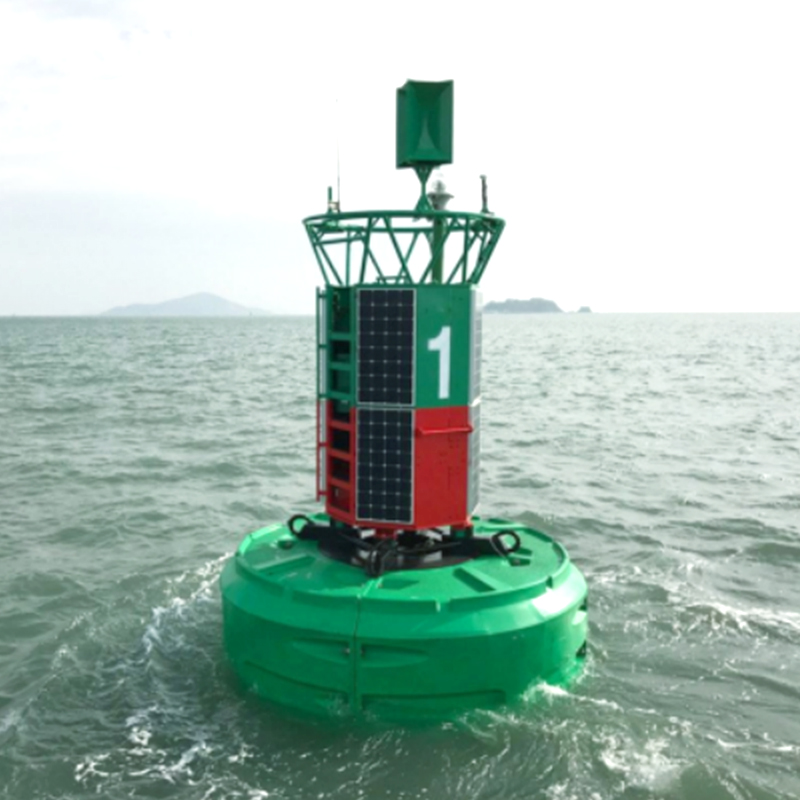
Marine Navigation Buoy/Warning Buoy
-
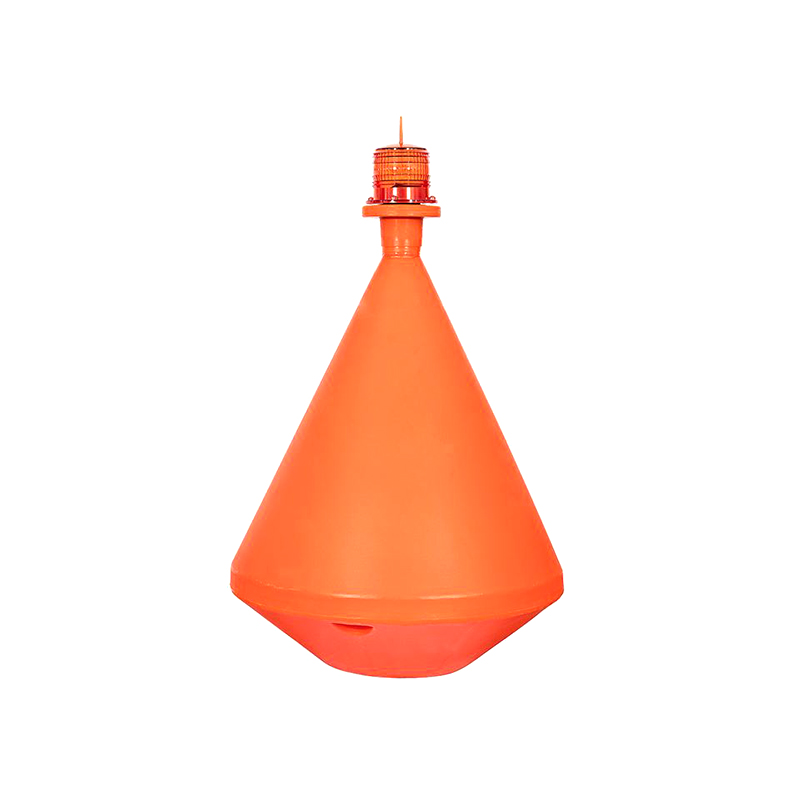
LLDPE Stationary Navigation Beacon Floating Buoy
-
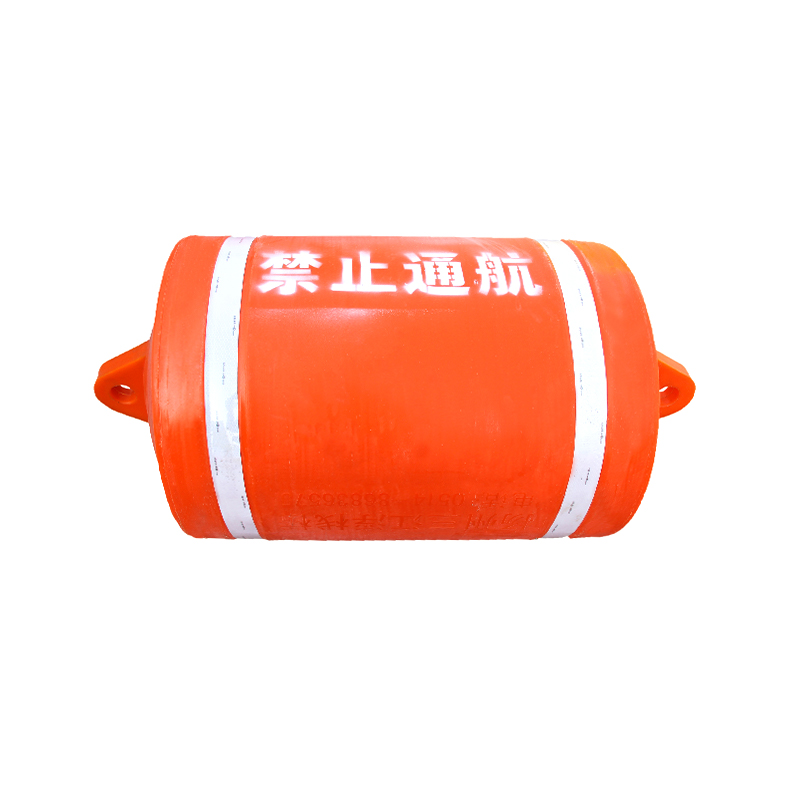
Rotomolding Warning Float With EPS Filler
-
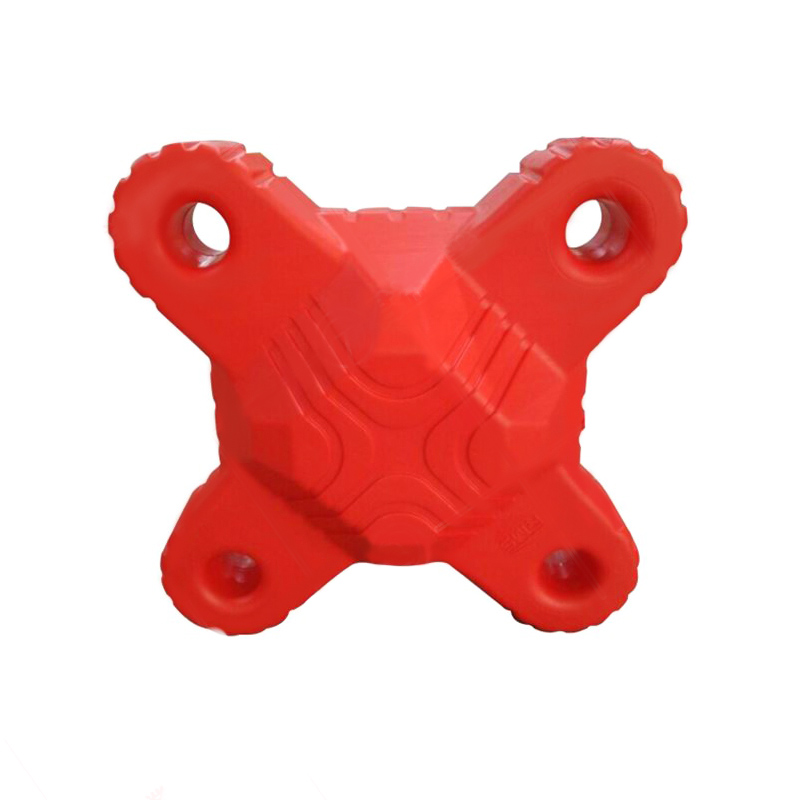
Rotomolding Anti-wave Buoy
-
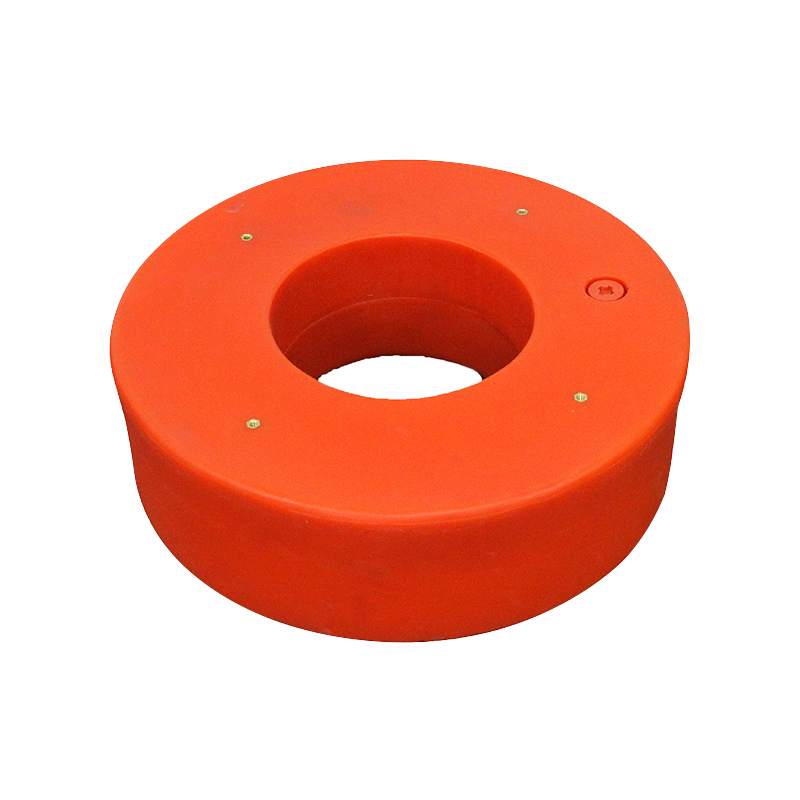
LLDPE Dredging Sludge Rotomolded Floating Ring
-
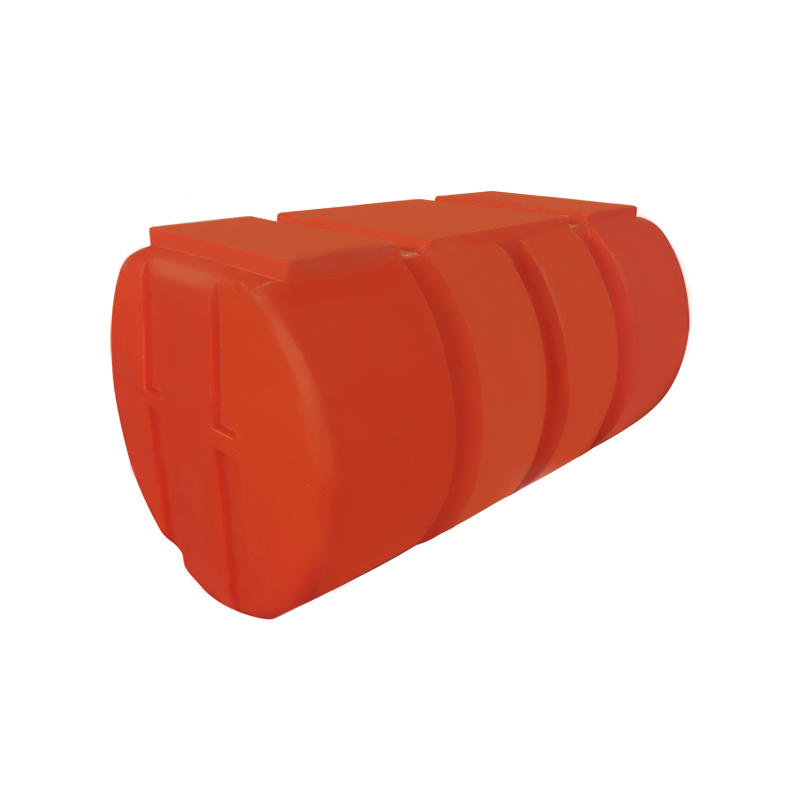
650 Diameter Rotomolding Breeding Floating Pontoon
-
200 Diameter Rotomolding Sewage Retaining Float
-
Rotational Molding Floating Body
-
Rotomolding Plastic LLDPE Fuel Tank
-
Rotomolding Plant Protection Water Tank
-
Rotomolding LLDPE RV Fresh Water Tank
QUICK CONTACT
-
 wuyuqiao village, Henghe Town, Cixi City, Zhejiang Province
-
 +86-15257871220
- +86 15924308271
-
 [email protected]
KEEP IN TOUCH
