

 English
 عربى
عربى
News
Home / News / Industry News / Rotational Molding Design Guidelines: Key Rules for OEM Engineers and Buyers
An engineer recently brought us a 1,000 liter dosing tank that kept cracking at its bottom corner. The CAD model had a 2 mm internal radius, no draft on the side wall, and a perfectly flat base. Every one of those three details pushed the part into failure. Rotomolding is a forgiving process in many ways, but it is not a forgiving process for sharp transitions, vertical walls with no taper, or large unsupported surfaces.
The rules below are what we use to catch those problems before they become a tooling expense. They come from years of building rotomolding tools and producing PE tanks, equipment housings, and custom OEM parts.
Rotational molding creates single-wall hollow parts. Unlike injection molding, the wall thickness is determined by the amount of plastic powder loaded into the mold and by the rotation cycle, not by a mold cavity geometry. This is why a part that mixes thick and thin sections is difficult to produce: the plastic in a thick area has no way to flow to a thin area after the powder melts.
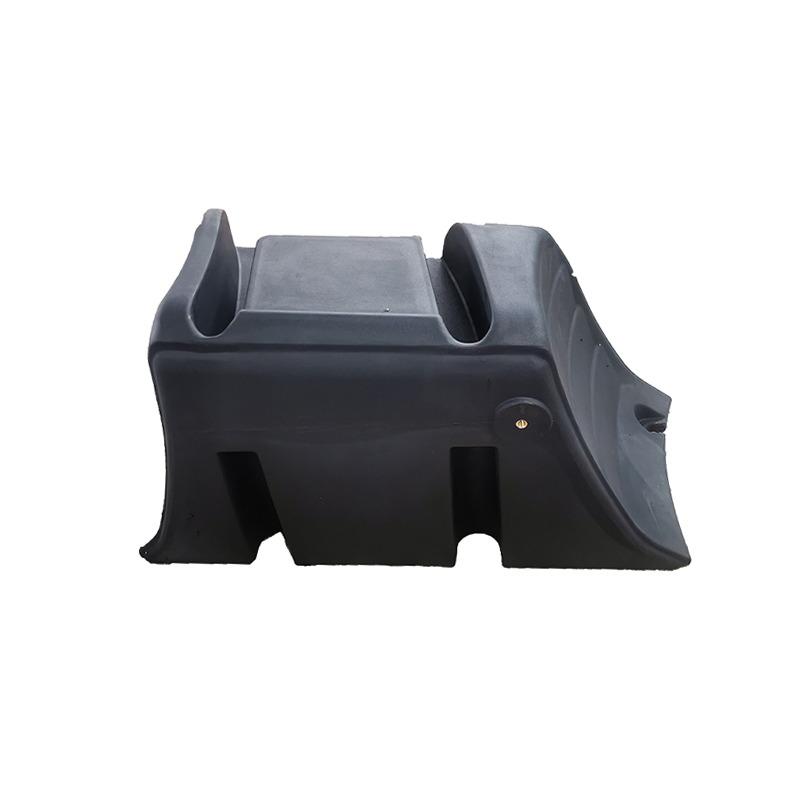 LLDPE Rotomolded Equipment Shell for Internal Component ProtectionThis seamless rotationally molded shell shields precision components from dust, moisture, and impact. Its LLDPE material provides chemical resistance and UV stability, making it suitable for harsh industrial environments.View Product →
For polyethylene parts, a sensible starting point is a uniform wall. Small housings, up to 300 mm across, often run at 3 to 5 mm. Mid-size parts such as 1,000 liter tanks or equipment enclosures need about 5 to 8 mm. Large storage tanks above 2,000 mm typically use 8 to 12 mm to withstand hydrostatic load and handling stresses.
| Overall part size | Recommended wall thickness | Typical production tolerance |
|---|---|---|
| Under 300 mm | 3 to 5 mm | +/- 1.5 mm |
| 300 to 1000 mm | 5 to 6 mm | +/- 2 mm |
| 1000 to 2000 mm | 6 to 8 mm | +/- 2.5 mm |
| Over 2000 mm | 8 to 12 mm | +/- 3 mm |
Uniform wall thickness is more important than the absolute value. A 6 mm wall with a local 12 mm boss will sink, and the boss base can trap an internal void. If the design needs a local thickening, plan for a secondary reinforcement instead.
Draft is the angle you add to vertical surfaces so the part releases from the mold. Because a rotationally molded part is pulled off the tool while still warm, and because polyethylene shrinks onto the tool as it cools, a zero-draft wall will drag, stick, or distort. The minimum draft we recommend for a smooth polyethylene surface is 1 degree per side. For a textured surface, increase to 2 or 3 degrees.
| Surface condition | Minimum draft per side |
|---|---|
| Smooth external surface | 1 degree |
| Smooth internal surface | 0.5 degree |
| Textured or painted surface | 2 to 3 degrees |
| Deep vertical walls over 500 mm | 2 degrees or more |
The practical effect is larger than most engineers expect. A part with a 500 mm deep side wall and a 1 degree draft tapers by about 9 mm from top to bottom. If the design calls for a precisely parallel wall, that is a red flag. Rotomolding is not injection molding; holding a vertical wall without taper on a deep part is a difficult tooling challenge.
Flat walls are the single most common cause of rotomolding distortion. A large flat panel has no internal support, and the shrink that occurs as the part cools makes it oil-can, warp, or bow. The proven fix is a crown. A crown of roughly 0.4 mm per 100 mm of panel length keeps the face stable. For a 500 mm wide flat area, that means about 2 mm of curvature.
If the panel must truly be flat, or if it has to bear a load, add kiss-offs. A kiss-off is a molded-in button or post that joins two opposing walls. Placing kiss-offs at 150 to 300 mm spacing produces a stiffened double wall without requiring ribs or secondary fasteners. Kiss-offs add mold complexity, but they are far cheaper than reinforcing a warped part after molding.
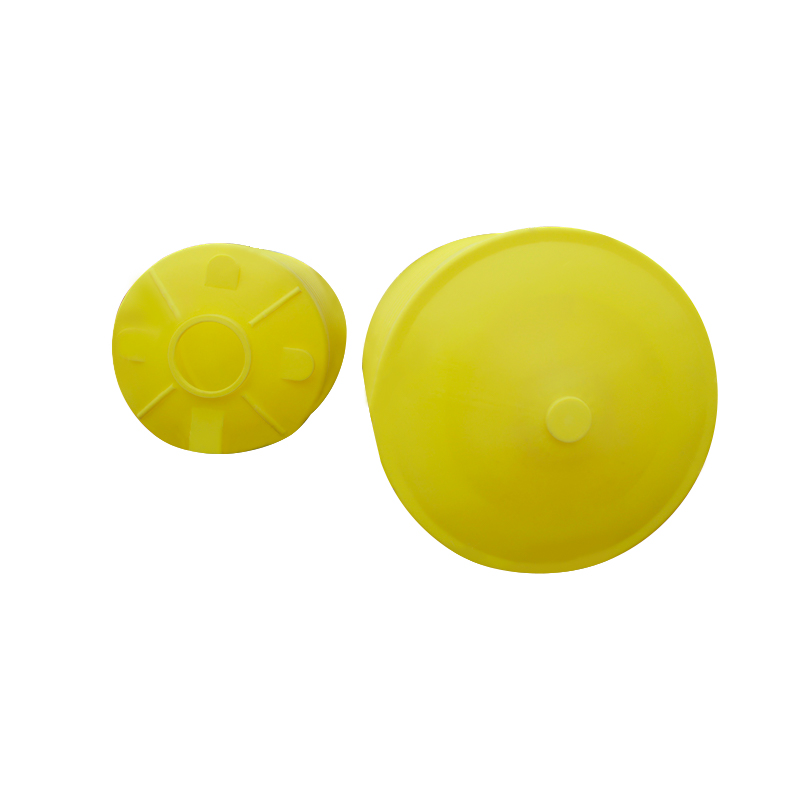 5,000 Liter Cone Bottom PE Storage Tank with Enhanced StabilityDesigned for liquid storage in water treatment and chemical industries, this cone-bottom tank ensures efficient drainage and structural integrity. The smooth crown resists hydrostatic pressure, while LLDPE offers corrosion resistance.View Product →
Large containers like a 5,000 liter cone-bottom storage tank use a conical bottom for drainage and added stability, while the side wall carries a smooth crown to resist hydrostatic deformation.
Sharp corners are the second most common design mistake. In rotomolding, a sharp internal corner creates a stress concentration, and the outside of that corner tends to come out thin because the powder has difficulty filling the tight space. The minimum external radius we accept is 3 mm, and the internal radius should be at least twice the wall thickness. For a 6 mm wall, plan on a 12 mm inside radius.
Corner angle matters as much as radius. Polyethylene parts perform best with an included angle of 30 degrees or more, though greater angles are even safer. If an application requires a sharper angle, design a wall thickening or a reinforced rib to compensate.
Designers often request a sharp corner to save space. In rotomolding, a sharp corner rarely saves space. It costs tooling time, risks thin walls, and creates a visually rough radius. The efficient solution is usually a generous radius plus a low profile rib.
Rotomolding relies on powder tumbling and melting inside a rotating mold. The powder cannot flow through narrow gaps the way melted plastic flows in an injection mold. A general rule is to keep the distance between any two walls, or between a wall and a rib, at least five times the nominal wall thickness. For a 6 mm wall, that means a minimum gap of about 30 mm.
If the gap is narrower, powder can bridge the opening before it melts, and the result is a fused web that ruins the design intent. This rule applies to kiss-offs, molded-in ribs, mounting bosses, and any internal geometry. The first check we run is the 5x rule.
Undercuts are difficult because the part has to be pulled off the mold. Small undercuts can be handled with silicone or flexible mold sections, but they add cost and usually mean a slower cycle. For large rigid parts, avoid undercuts entirely.
Threaded inserts, level switches, and fitting bosses can be molded in. They are placed in the mold before powder is loaded and stay in position as the part rotates. A metal insert for a PE part must have a knurl or groove so it locks into the plastic. Keep insert locations away from adjacent walls; otherwise the 5x separation rule becomes impossible to meet.
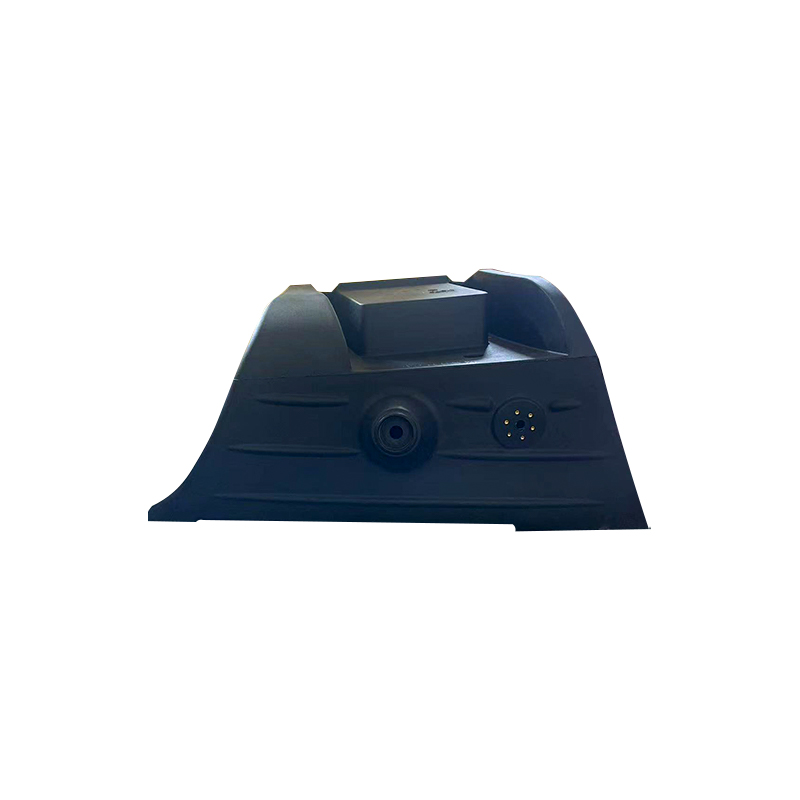 Rotomolded LLDPE Fuel Tank for Safe Liquid StorageThis fuel tank uses LLDPE for chemical and impact resistance, suitable for storing fuels and other liquids. Its seamless construction prevents leakage, and the lightweight design allows easy installation in mobile or fixed applications.View Product →
Parting lines should be located on a clean edge. If the parting line crosses a textured surface, the texture will not match at the split. For products that must look uniform, plan the tooling split at a natural feature like a rim or a molded groove.
LLDPE is the default material for most rotomolding projects, and for good reason. It has excellent impact strength, good chemical resistance, and it tolerates the slow rotation cycle without degrading. When a part will live outdoors, UV stabilizer is essential. Black is the most effective color, but a UV package in other colors works well for many applications.
For corrosion resistance in marine or chemical environments, an LLDPE part with UV stabilization is a dependable choice. We have published practical information on LLDPE floating platform corrosion resistance for those considering a large installation.
Service temperature also matters. Standard polyethylene parts are usually rated for continuous use between 60 and 80 degrees Celsius. Above that range, polypropylene or nylon may be needed, and these change both the draft requirements and the tooling cost. Chemical exposure to acids, solvents, or seawater also affects material choice.
Tooling is the largest single cost in a rotomolding project. Molds are typically cast aluminum for production quantities or CNC machined aluminum for prototypes. The more complex the part geometry, the more the mold costs.
Kiss-offs, undercuts, and molded-in inserts all add to tooling cost. Every feature you add has to be thought through in the mold layout. The best approach for an OEM part is to send a 3D CAD model with a clear callout for nominal wall thickness, draft direction, and parting line. Even a simple sketch with these three items will make the tooling conversation far more productive.
The most common design errors are easy to catch if you know what to look for:
When a drawing includes these issues, the best move is to fix them early. A small change to the CAD model can save thousands in tooling rework and months of production pain.
If you are evaluating a custom OEM project, the company behind the tooling matters. At Cixi Junyi Plastic Industry, we design and build rotationally molded parts from the mold stage through finished production. The same design principles apply whether you are buying standard tanks or commissioning a custom housing. You can read more about our OEM development and processing services to understand how we handle drawing review, tooling, and production.


 wuyuqiao village, Henghe Town, Cixi City, Zhejiang Province
 +86-15257871220
 [email protected]
